1708 14:57
Striker Bravo has made it back into the Sol system and is close to making orbit with Earth. Bravo’s AMM ships were briefly able to lead the main strike force away from the Sol jump gate back towards Oxford before they gave up the chase and turned for Sol. Importantly this has given the Imperial Navy a small lead and some time to prepare the defence of Sol.
Critically enough time has passed for Striker Alpha to complete its overhaul. With a full load of missiles the task group immediately breaks orbit and heads for a firing position approximately 50m k off of the Sol jump gate.
The Imperial Navy is also hoping to be able to bring to bear its’ key defensive asset in the system – six squadrons of Viper interceptors:
Viper  class Fighter    200 tons     2 Crew     37.9 BP      TCS 4  TH 66  EM 0
16500 km/s     Armour 1-3     Shields 0-0     Sensors 1/1/0/0     Damage Control Rating 0     PPV 1.8
Annual Failure Rate: 40%    IFR: 0.6%    Maint Capacity 0 MSP    Max Repair 11 MSP    Est Time: 0 Years
Magazine 12

FTR ICF Drive E600.10 (1)    Power 66    Fuel Use 6000%    Signature 66    Armour 0    Exp 50%
Fuel Capacity 10,000 Litres    Range 1.5 billion km   (25 hours at full power)

Size 2 Box Launcher (6)    Missile Size 2    Hangar Reload 15 minutes    MF Reload 2.5 hours
FTR MFC FC34-R100 (1)     Range 34.7m km    Resolution 100
Gargoyle 1 (6)  Speed: 40,000 km/s   End: 15m    Range: 36m km   WH: 4    Size: 2    TH: 133 / 80 / 40

Missile to hit chances are vs targets moving at 3000 km/s, 5000 km/s and 10,000 km/s

This design is classed as a Fighter for production, combat and maintenance purposes
The Imperial Navy spent a long time looking at design alternatives for the Viper before finally settling on a minimalist design that was built around delivering rapid force project and overwhelming alpha strikes. As the fighters are designed to fight within the sensor range of the fleets primary sensor package no fighter based active sensor has been designed.
To date the Vipers have been very effective in intercepting loan ships travelling through Sol however the encroaching enemy fleet will be a whole new ball game.
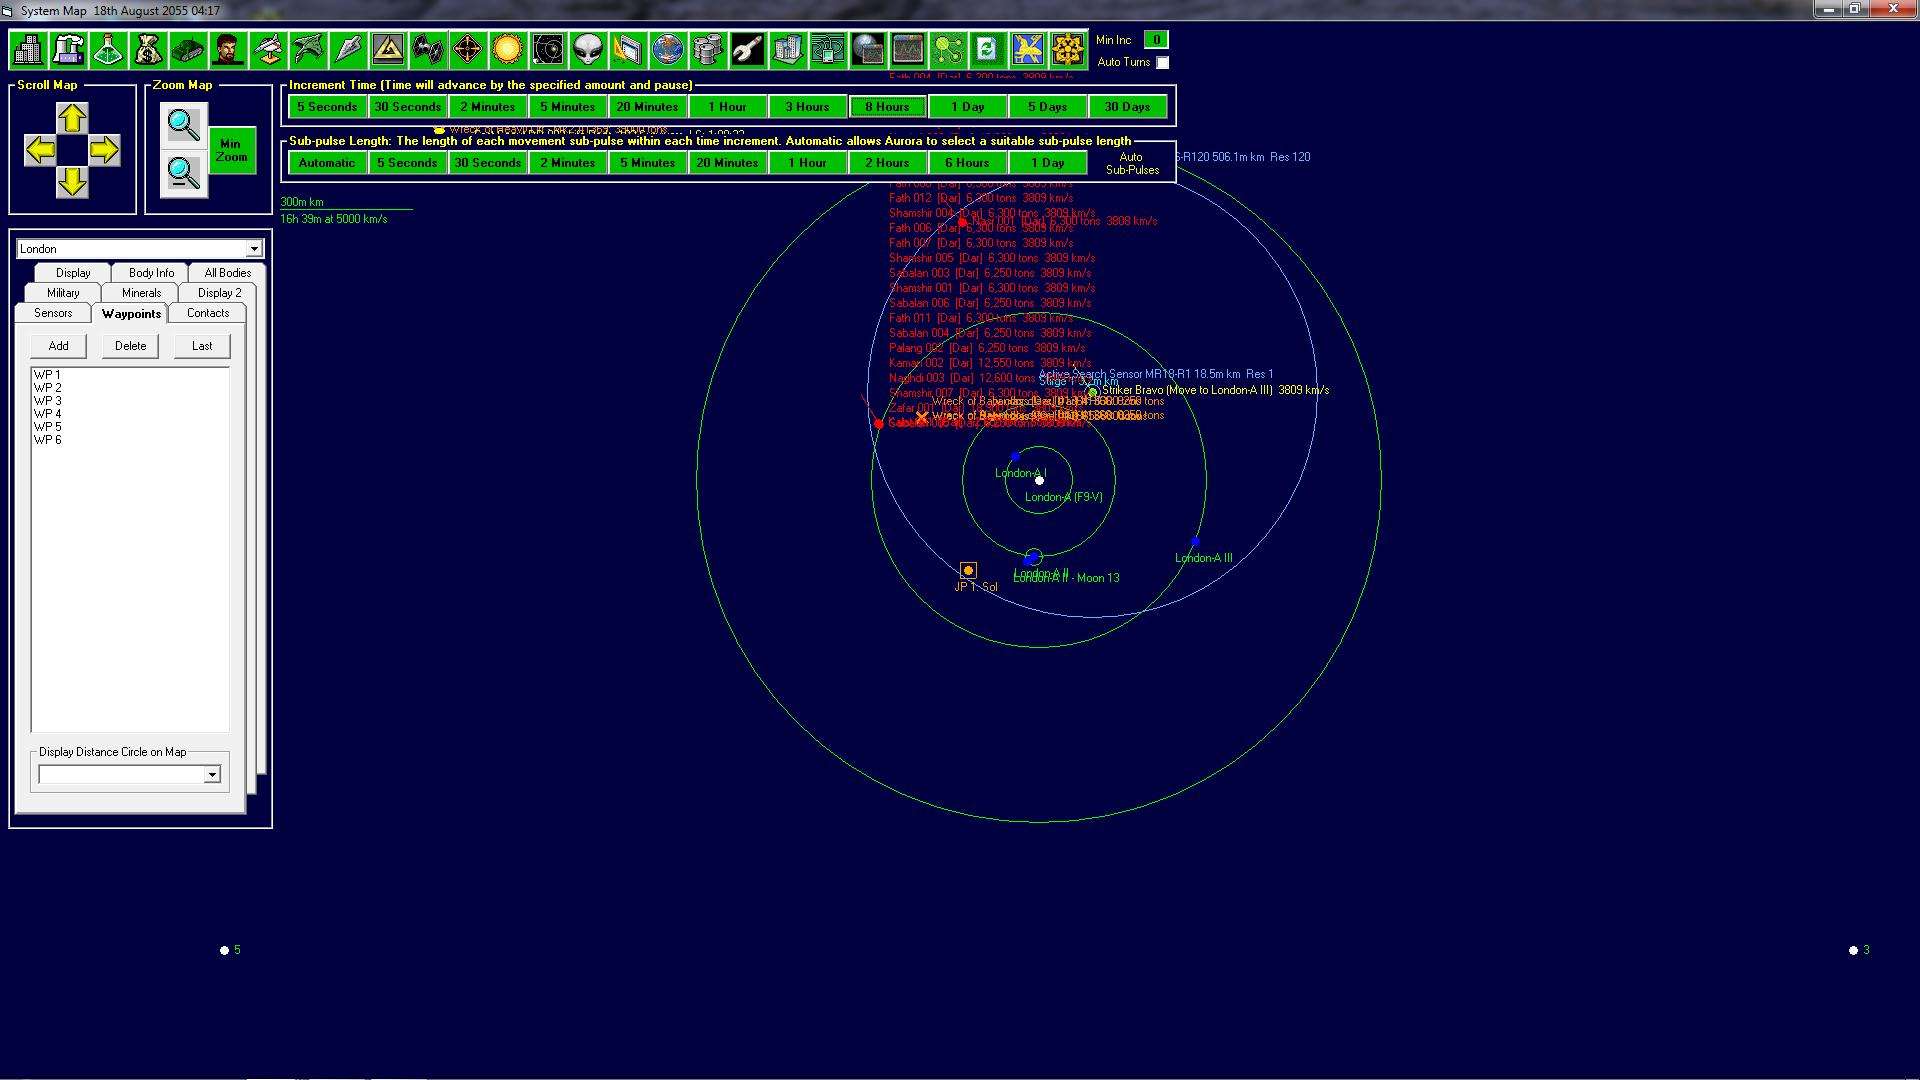
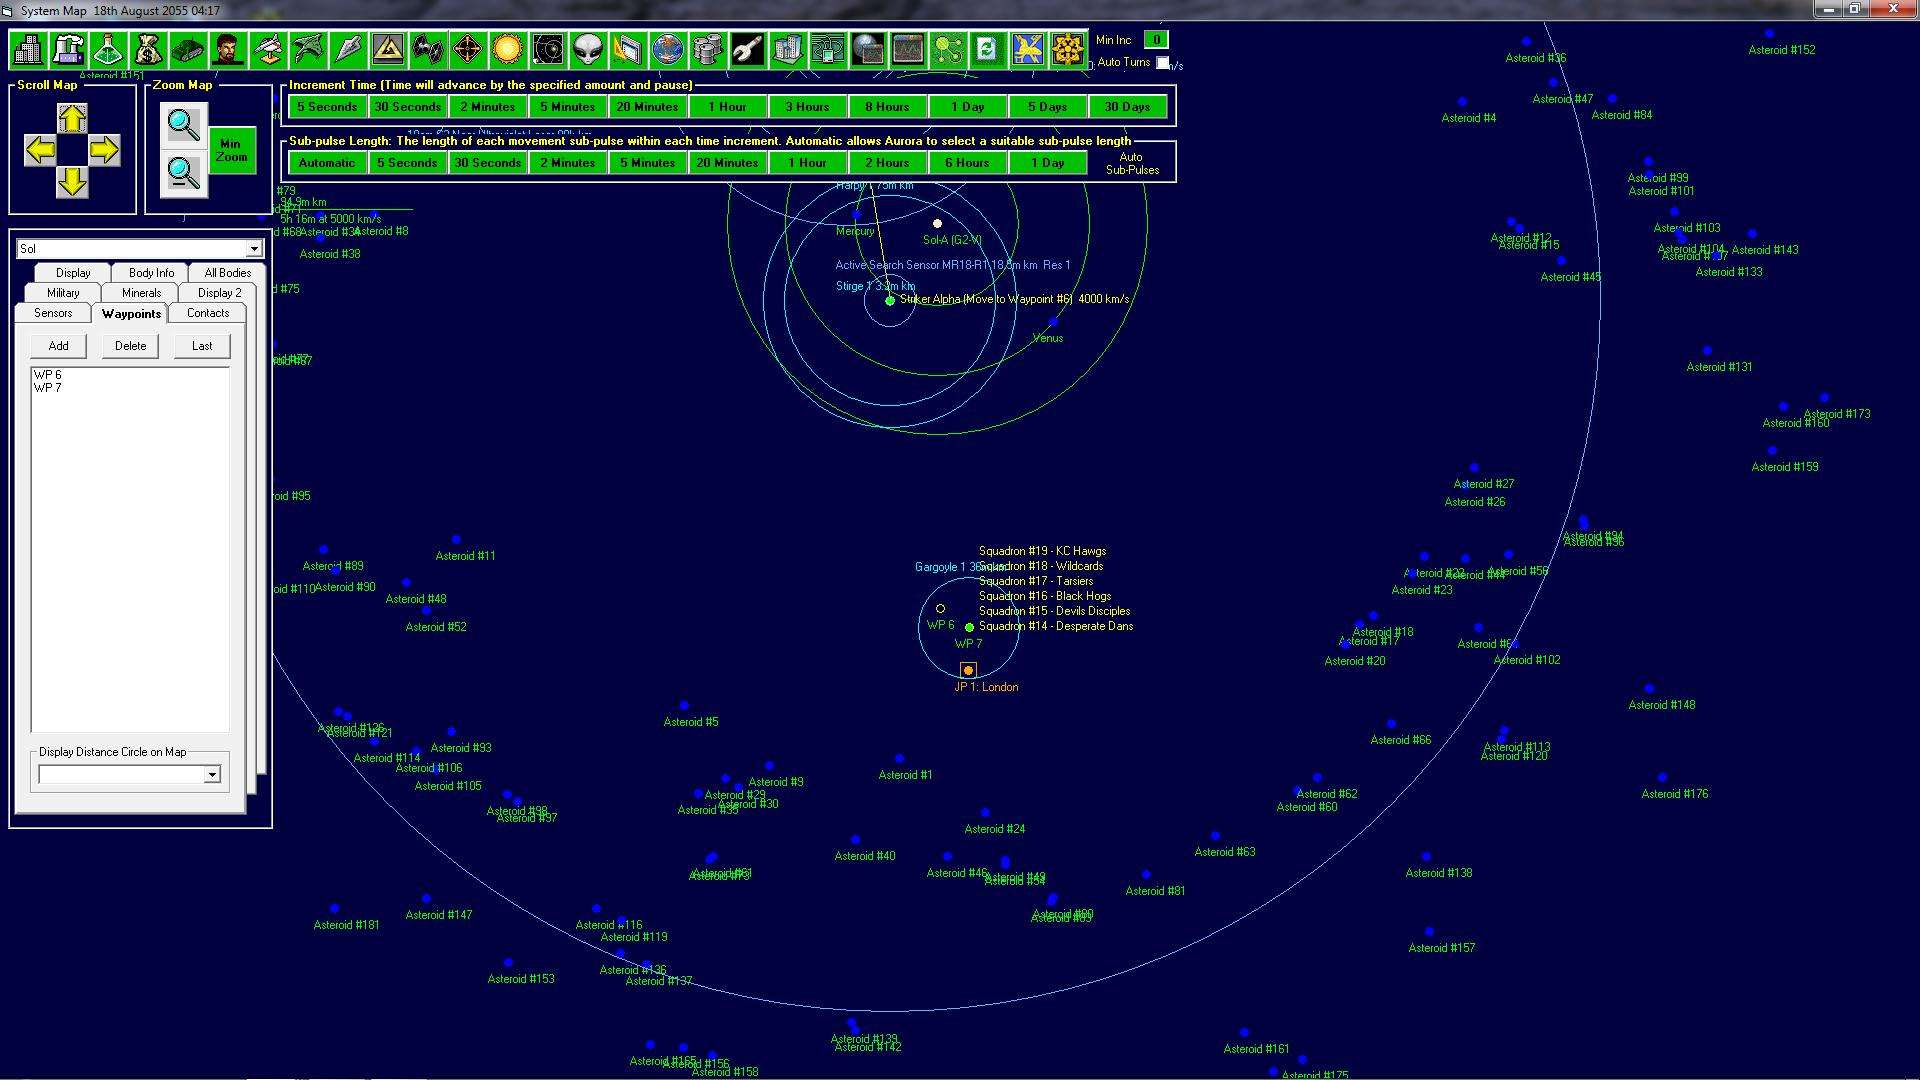
All six squadrons are ordered to head for a firing position close to the London gate. The fighters will be operating at close to their maximum strike range but at least they will be able to make it into position – none of the other gates in Sol are in range of the fighters. It’s hoped that the significant salvos from the fighters will be enough to slow the hostiles and allow Striker Alpha and Bravo to finish the job. With the number of soft ground targets and commercial shipping in Sol it will be a disaster if the hostiles manage to break from the gate and split up.
1808 10:27
A lone coloniser has somehow managed to run the gauntlet from Sol to London, on arriving at London B IV it detects a sizeable population belonging to the Moe clan. This confirms the theory that the planet was invaded rather than destroyed and gives hope that once the system is cleared of ships it can be retaken. Further thermal indicators would also seem to indicate that all three PDCs on the planet remain intact, although likely heavily damaged.
Disastrously the arrival of the commercial ship appears to have caught the attention of the hostile fleet, they turn about and begin to head back in system towards London B-IV. It appears that the planned trap for the hostiles in Sol is not going to be sprung and the Navy begins to plan for a further venture into London whilst they still have eyes on the gate.
However, three hours later the fleet changes course once more, heading back to Sol. In the meantime the fighter squadrons have been ordered back to Earth and, now low on fuel, will need to make the full return trip before being able to take up position again.
1908 14:48
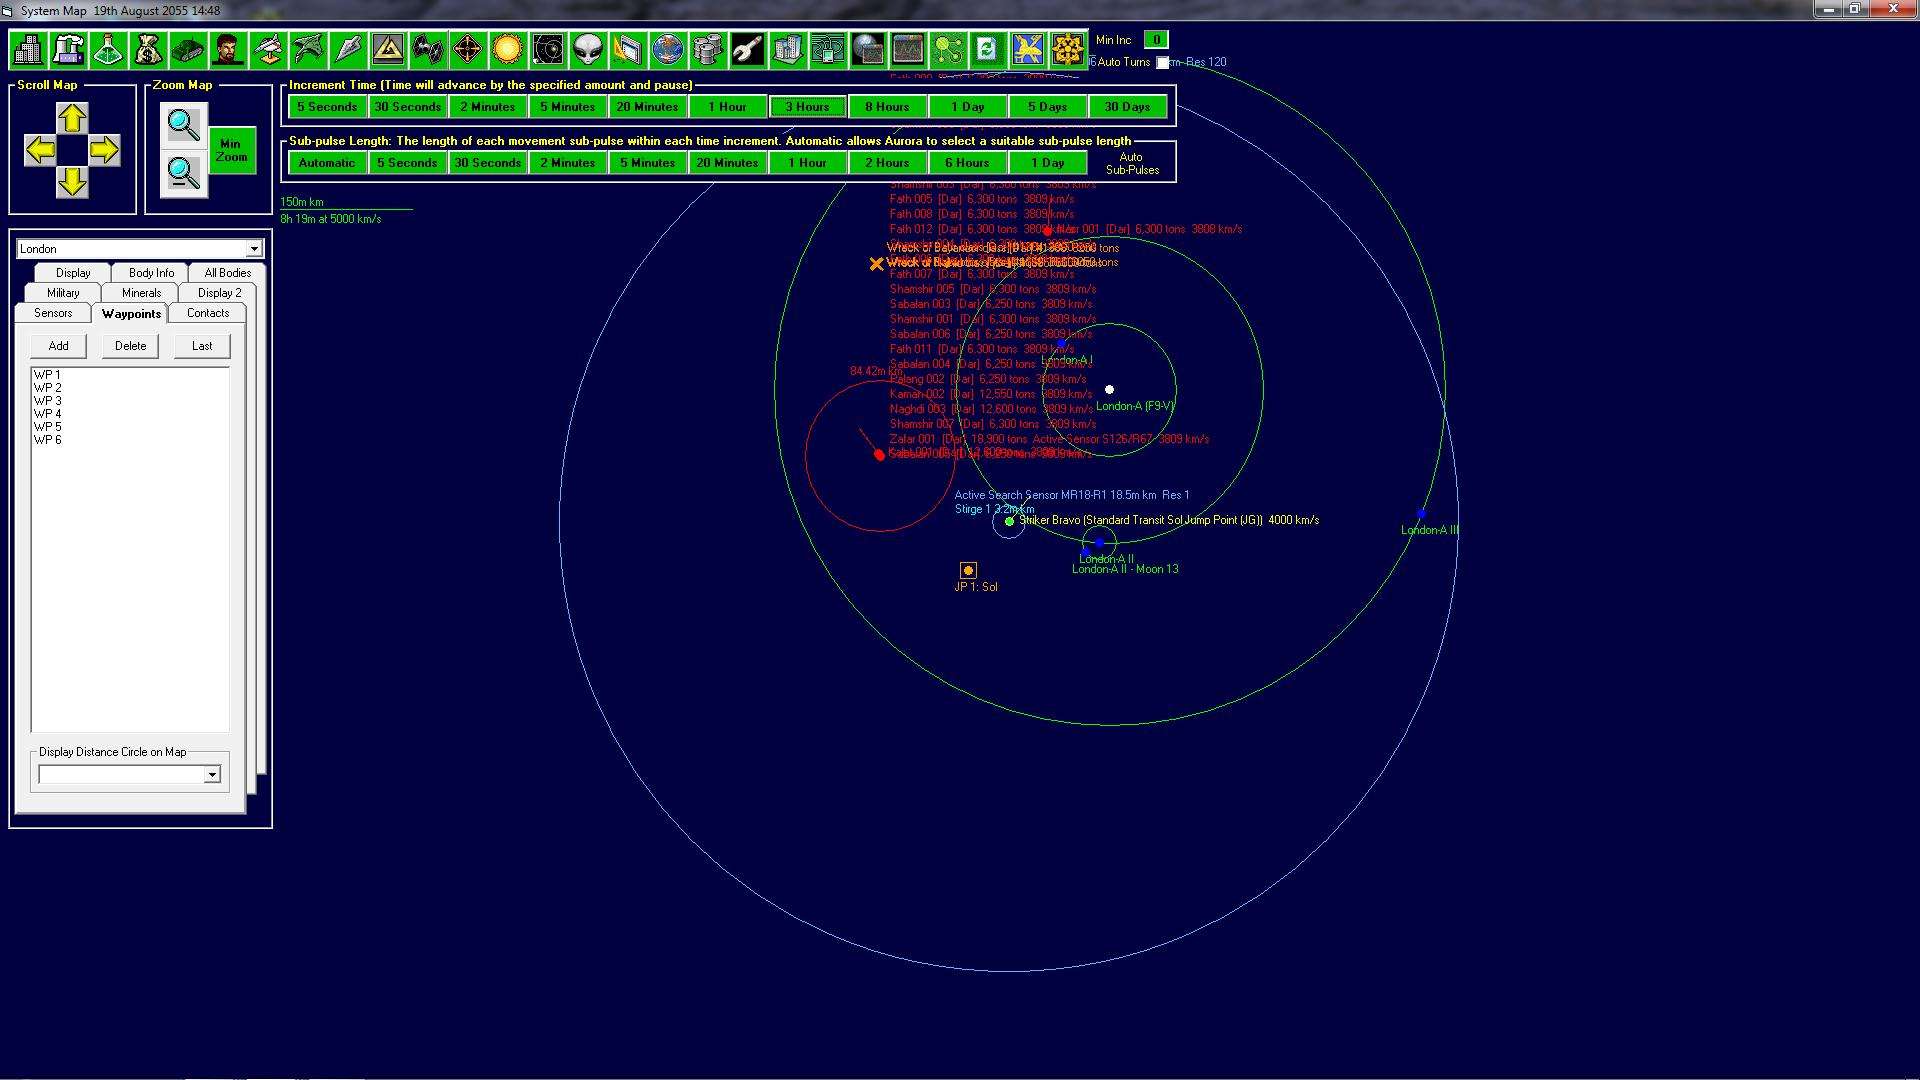
Half a day later and both Striker Alpha and Bravo are in optimal firing positions on the gate alongside the six squadrons of fighters.
Meanwhile in London the AMM detachment of Striker Bravo makes a dash for the gate in an effort to join up with the main fleet before they get cut off.
2008 00:55
With the hostile fleet just 35 million kilometres from it Striker Bravo AMM jumps out of the system and moves to re-join the rest of the task group.
2008 02:38
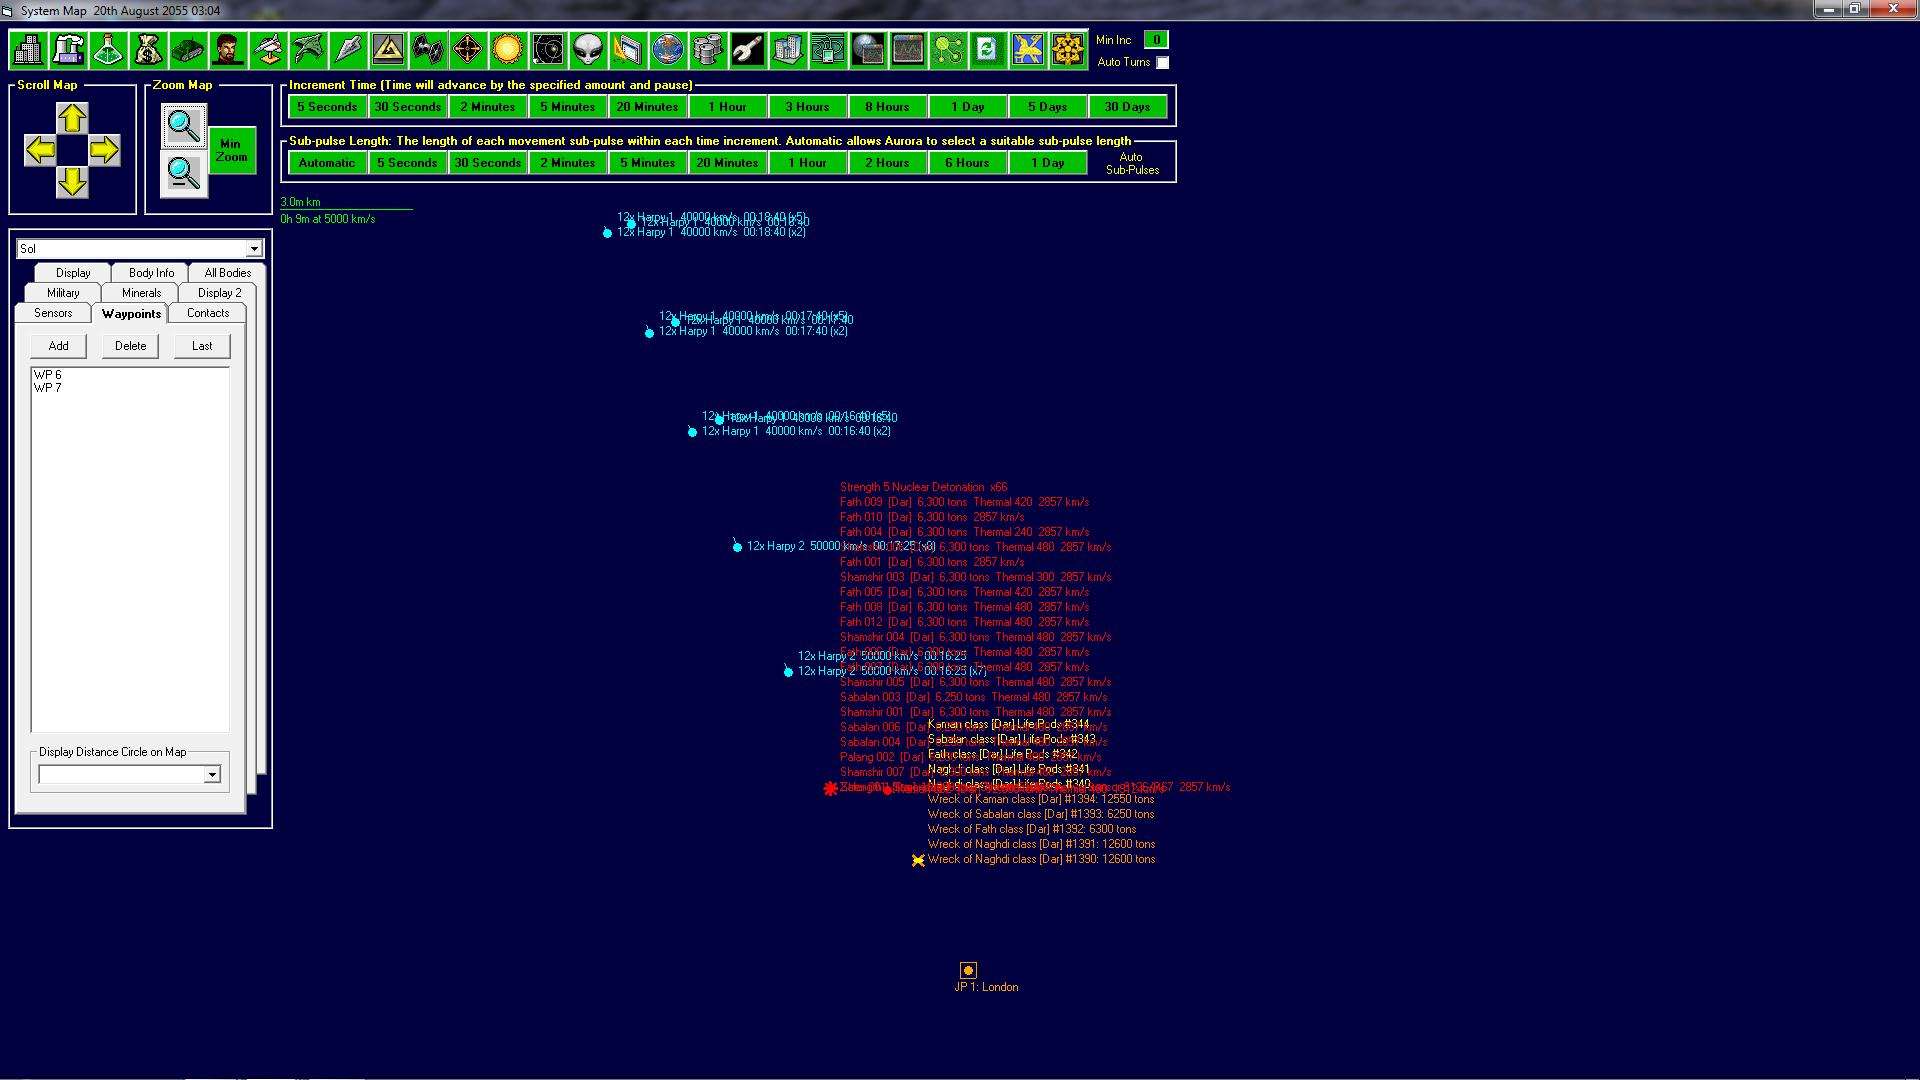
Just a few hours later the bulk of the hostile fleet jump into Sol and the fighters are immediately order to release a full volley of missiles, targeting the largest vessels in the fleet. Based on the previous reduction in point defence fire that occurred after one of these had previously been hit these are assumed to carry the close in defences and are hence deemed to be a key primary target. Hopefully with the destruction of these ships Striker Alpha and Bravo will achieve a higher hit ratio with their own smaller volleys of missiles.
Moments later 360 missiles are in the air and streaking to the hostile fleet.

Despite the massive AMM and point defence capabilities of the fleet a total 244 missiles find their target, destroying all of the fleet’s heavy ships. Now it’s the turn of the Strikers to punish them further.
The fighters will take almost nine hours to return to Earth before refuelling and rearming so they are not expected to have any further role in the fight. They have however proven their worth and their effectiveness against large fleets.
2008 03:04
The first of the missiles from the Striker group begin to land. A far larger number are making it through the fleet’s defences indicating that the preliminary fighter strike was largely successful in knocking out a number of their PD platforms.
The attack shows that the Navy has made another potentially serious error. In the rush to get the fleets re-equipped a number of the ships have picked up stocks of Mk 2 version of the Harpy anti-ship missile. With the advances in tech this missiles has a longer range, larger warhead and also a significantly faster speed.
As a result the flights of missiles quickly break up and even smaller volleys arrive at the hostile fleet.
However with the reduced protection a far greater proportion of the missiles still find their targets and, an hour later, the hostile fleet is nothing but drifting wreckage:

The battle for Sol has been won convincingly, in no small part to the massed fire of the fighter wing, not to mention the doubling of combat ships brought to bear. However, the Imperial Navy no longer has a presence in London and the Empire’s colony there still needs to be liberated. Furthermore there at still at least 6 hostile combat vessels in London and the Empire’s offensive missile stocks are now dangerously depleted, leaving it with little capacity for further offensive operations. The loss of the Tritanium mines will also have a significant impact on the Navy’s ability to contrast more missile ships and replacement missiles.
Not wishing to lose the initiative Striker Alpha, which still has relatively full stocks of missiles, is ordered to jump to London and move to London B-IV.
Over the next few days the task group fights its way to the colony, destroying 9 further hostiles in the process. Once in orbit the task group detects a still sizeable population and industrial base on the planet, confirmed that not all has been lost.
Troops protecting a nearby archaeological dig are immediately dispatched to try and retake the planet whilst the mine layer is sent on multiple runs to replenish the missile stocks of the task group. The troop transports will still take several weeks to reach their destination so the task group is split with 1/3 of the ships protecting the Oxford jumpgate, a further 1/3 in ordit around London B IV and the final 1/3 in position close to the Cambridge jumpgate - through the Empire's ten Sorium harvestors are located.
Meanwhile back on Earth the Navy immediately starts to make plans for the build-up of the fleets and a strike on the Moe Clan home system some four jumps distant from Sol...


